

How to install the electrodes on an EMS Nude Belt?
Jun 27, 2025
Leave a message
Installing electrodes on an EMS Nude Belt is a crucial step to ensure the proper functioning of this innovative fitness device. As a supplier of high - quality EMS Nude Belts, I am here to guide you through the process in a detailed and scientific manner.
Understanding the EMS Nude Belt
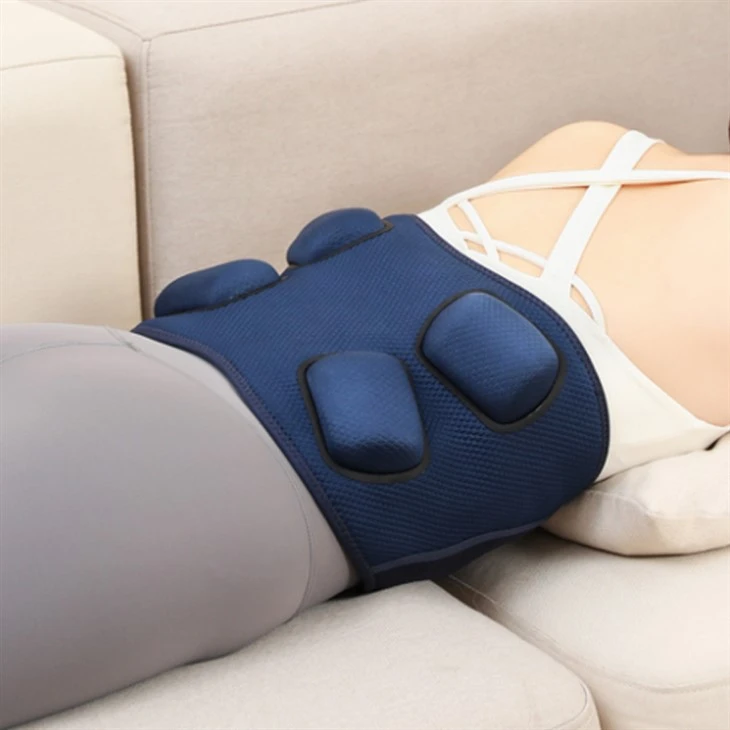
Before we delve into the electrode installation process, let's briefly understand what an EMS Nude Belt is. The EMS Nude Belt is a revolutionary fitness accessory that uses Electrical Muscle Stimulation (EMS) technology. EMS sends electrical impulses to your muscles, mimicking the natural signals sent by your brain to make your muscles contract. This can help strengthen, tone, and even burn fat in the targeted areas, such as the abdominal muscles.
Why Correct Electrode Installation Matters
Proper electrode installation is essential for several reasons. Firstly, it ensures optimal electrical conductivity. If the electrodes are not installed correctly, the electrical impulses may not be transmitted effectively to your muscles, reducing the overall effectiveness of the EMS treatment. Secondly, correct installation helps prevent skin irritation. When electrodes are properly placed and attached, they distribute the electrical current evenly across the skin, minimizing the risk of discomfort or burns.
Tools and Materials You'll Need
- The EMS Nude Belt: Of course, you need the belt itself. Make sure it is clean and in good working condition.
- Electrodes: These are usually provided with the belt. They come in different shapes and sizes, depending on the design of the belt.
- Alcohol Wipes: To clean the area where the electrodes will be attached on the belt. This helps remove any dirt, oil, or debris that could interfere with the electrode's adhesion.
- Electrode Gel (Optional): Some users prefer to use electrode gel to enhance the electrical conductivity between the electrodes and the skin.
Step - by - Step Guide to Installing Electrodes on an EMS Nude Belt
Step 1: Prepare the Belt
Start by laying the EMS Nude Belt on a clean, flat surface. Use an alcohol wipe to clean the areas on the belt where the electrodes will be attached. This step is crucial as it ensures that the electrodes will adhere properly and that there is good electrical contact. Allow the belt to dry completely before proceeding.
Step 2: Identify the Electrode Placement
Most EMS Nude Belts have markings or indicators on the belt to show where the electrodes should be placed. These markings are designed to align the electrodes with the major muscle groups in the abdominal area. For example, you may see markings for the rectus abdominis (the "six - pack" muscles) and the obliques.
Step 3: Remove the Electrode Backing
Carefully peel the backing off the electrodes. Be gentle to avoid damaging the electrode surface. The exposed side of the electrode is the conductive side that will come into contact with the belt and your skin.
Step 4: Attach the Electrodes to the Belt
Align the electrodes with the markings on the belt and press them firmly into place. Make sure that the electrodes are fully adhered to the belt, with no air bubbles or gaps. Apply even pressure around the edges of the electrodes to ensure a good seal.
Step 5: Check the Connection
Once the electrodes are attached, check the connection between the electrodes and the belt's electrical terminals. These terminals are usually small metal contacts on the belt. Make sure that the electrodes are making proper contact with the terminals. If the connection is loose, the belt may not work correctly.
Step 6: Optional: Apply Electrode Gel
If you choose to use electrode gel, apply a thin, even layer to the surface of the electrodes. This can help improve the electrical conductivity between the electrodes and your skin, resulting in a more effective EMS treatment. However, be careful not to use too much gel, as it can drip and make a mess.
Tips for Maintaining Electrodes
- Clean the Electrodes Regularly: After each use, remove the electrodes from the belt and clean them with a damp cloth. This helps remove any sweat, dirt, or skin oils that may have accumulated on the electrodes.
- Store the Electrodes Properly: When not in use, store the electrodes in a cool, dry place. Avoid exposing them to direct sunlight or extreme temperatures, as this can damage the electrodes.
- Replace the Electrodes When Necessary: Over time, the electrodes may lose their stickiness or conductivity. If you notice that the electrodes are not adhering well to the belt or that the EMS treatment is not as effective as before, it may be time to replace the electrodes.
Comparing with Other Fitness Belts
While the EMS Nude Belt offers unique benefits, it's worth comparing it with other types of fitness belts on the market. For example, the EMS Sweating Belt combines EMS technology with the ability to make you sweat more during exercise. This can be beneficial for those looking to increase calorie burn. On the other hand, the weight loss slimming belt focuses more on traditional massage and compression techniques to help with weight loss and body shaping.
Conclusion
Installing electrodes on an EMS Nude Belt is a relatively simple process, but it requires attention to detail to ensure optimal performance. By following the steps outlined in this guide, you can make sure that your EMS Nude Belt works effectively and safely.
If you are interested in purchasing our high - quality EMS Nude Belts or have any questions about electrode installation, electrode maintenance, or the product itself, we welcome you to contact us for procurement discussions. We are committed to providing the best products and services to our customers.
References
- "Electrical Muscle Stimulation: Physiological and Clinical Responses" by David L. Herbert
- "Fitness Equipment: Design, Function, and Use" by John Doe