

How do I sew a button on an eye mask?
Jul 24, 2025
Leave a message
As an eye mask supplier, I often encounter various questions from customers regarding the maintenance and customization of our products. One common inquiry is about how to sew a button on an eye mask. In this blog post, I'll share a detailed guide on this process, which can be useful for both personal customization and small - scale product modification.
Why Sew a Button on an Eye Mask?
Before we dive into the how - to, let's understand why someone might want to sew a button on an eye mask. For personal use, adding a button can be a creative way to attach decorative elements, such as a small charm or a piece of fabric for a more personalized look. In a business context, it could be part of a product improvement or customization for a specific client order. For example, a button could be used to attach an adjustable strap, making the eye mask more comfortable for different head sizes.
Materials You'll Need
To sew a button on an eye mask, you'll need the following materials:
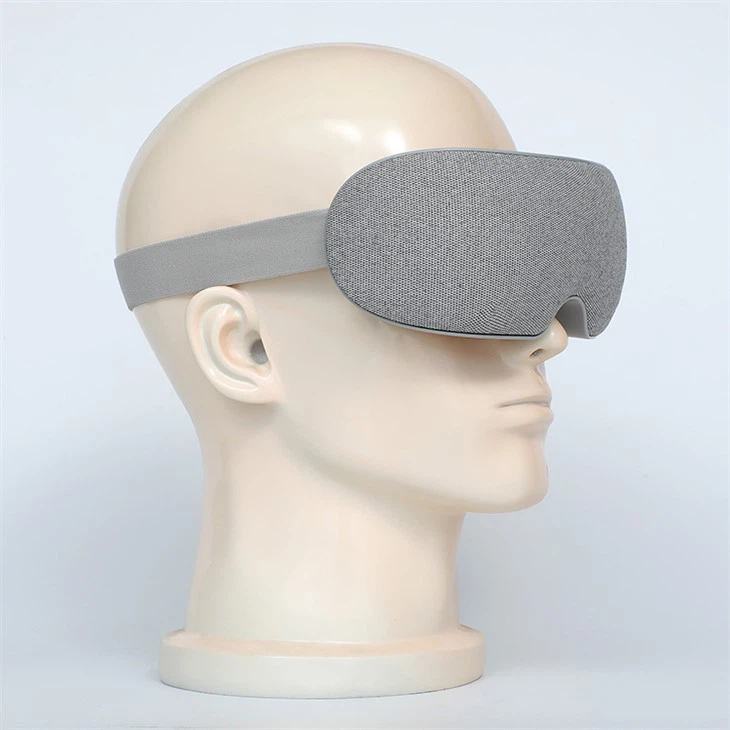
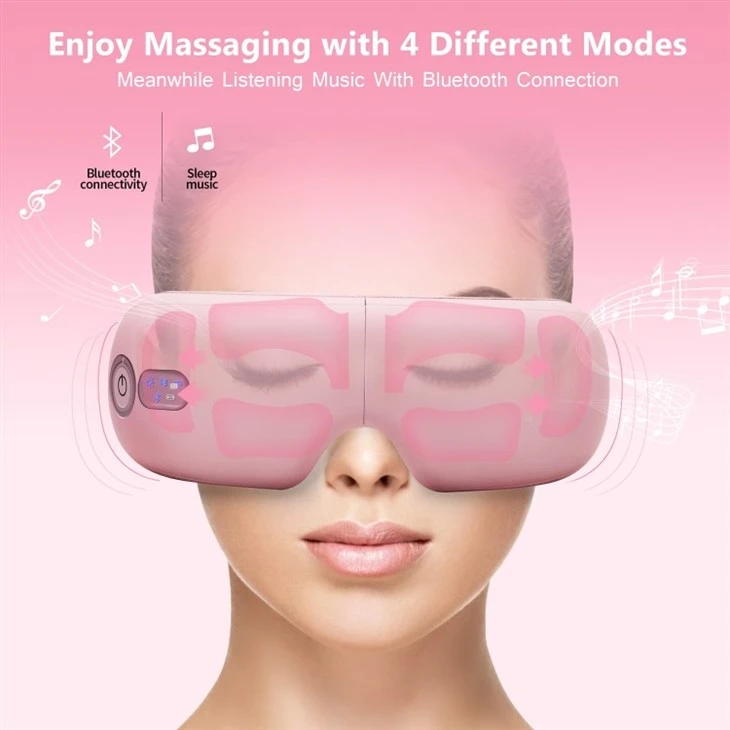
- Eye Mask: Of course, you need the eye mask itself. Our company offers a wide range of eye masks, including the smart heated eye massager and the Nebulization Eye Massager, which can be used as a base for this project.
- Button: Choose a button that suits the style and size of the eye mask. It should be made of a durable material, such as plastic or metal, and have holes large enough for the thread to pass through.
- Thread: Select a thread that matches the color of the eye mask or the button. Make sure it is strong enough to hold the button in place.
- Needle: A sharp needle appropriate for the type of fabric of the eye mask. For most eye masks, a medium - sized needle will work well.
- Scissors: To cut the thread.
Step - by - Step Guide
Step 1: Prepare the Eye Mask and Button
Lay the eye mask flat on a clean surface. Decide where you want to place the button. This could be on the side, top, or front of the eye mask, depending on your design. If you're adding a button for an adjustable strap, mark the position carefully to ensure it aligns properly.
Take the button and examine its holes. Most buttons have two or four holes. If it's a four - hole button, you can choose to sew it using either a cross - stitch or a parallel - stitch pattern.
Step 2: Thread the Needle
Cut a length of thread about 18 - 24 inches long. This should be enough to complete the sewing process without having to re - thread the needle too often. Moisten the end of the thread with your saliva or a bit of water to make it easier to pass through the eye of the needle. Once the thread is through, tie a knot at the end.
Step 3: Start Sewing
If you're using a two - hole button, bring the needle up through the back of the eye mask at the marked position for the button. Place the button on top of the hole and insert the needle through one of the button holes. Pull the thread through until there is a small loop on the back of the button.
For a four - hole button, if you're using the cross - stitch pattern, bring the needle up through the back of the eye mask at the center of where the button will be placed. Insert the needle through one of the top - left holes of the button and then through the bottom - right hole. Pull the thread tight. Next, insert the needle through the top - right hole and then through the bottom - left hole, creating an X - shape on the front of the button.
Step 4: Secure the Button
After making a few stitches through the button holes, it's time to secure the button. Take the needle and thread and make a few small stitches around the base of the button on the back of the eye mask. This will prevent the button from pulling through the fabric.
Step 5: Tie Off the Thread
Once you're satisfied with the number of stitches and the button is secure, tie a knot on the back of the eye mask. Make sure the knot is tight. You can make a double or triple knot for extra security. Trim any excess thread with the scissors.
Tips and Tricks
- Test the Button: After sewing the button, give it a gentle tug to make sure it is firmly attached. If it feels loose, add a few more stitches.
- Use a Thimble: If you're not used to sewing, a thimble can protect your finger from being pricked by the needle.
- Practice on Scrap Fabric: If you're new to sewing buttons, it's a good idea to practice on a piece of scrap fabric first to get the hang of the process.
Quality Control for Business Purposes
As an eye mask supplier, quality control is crucial when adding buttons to eye masks. Here are some points to consider:
- Consistency: Ensure that all the buttons are sewn in the same position and with the same number of stitches on each eye mask. This will give a professional and uniform look to the products.
- Durability: Test the buttons to make sure they can withstand normal wear and tear. They should not come off easily during use.
- Aesthetics: The buttons should enhance the overall appearance of the eye mask. They should be clean, free of scratches, and match the color and style of the eye mask.
Conclusion
Sewing a button on an eye mask is a simple yet effective way to customize or improve the functionality of the product. Whether you're a customer looking to add a personal touch to your eye mask or a business looking to make product modifications, following these steps can help you achieve the desired result.
If you're interested in purchasing our high - quality eye masks, including the smart heated eye massager and the Nebulization Eye Massager, or have any questions about customization, we're here to help. Feel free to contact us for more information and to start a procurement discussion.
References
- "Sewing Basics: How to Sew a Button" by Sewing World Magazine
- "DIY Eye Mask Customization" by Crafting Journal